Samsung WD90J6400AW Ohjekirja

Kategoria
Washing machines
Tyyppi
Ohjekirja

Tämä käsikirja sopii myös

Washing Machine
User manual
WD90J6***** / WD80J6*****
SSEC SEC
2 English
Contents
Contents
Safety information 3
What you need to know about the safety instructions 3
Important safety symbols 3
Important safety precautions 4
Instructions about the WEEE 14
Installation 15
What’s included 15
Installation requirements 17
Step-by-step installation 19
Before you start 25
Initial settings 25
Laundry guidelines 26
Detergent drawer guidelines 28
Operations 31
Control panel 31
Simple steps to start 33
Dry clothes only 34
Course overview 35
Settings 38
Maintenance 39
Eco Drum Clean 39
Smart Check 40
Using dry course 41
AIR Wash 42
Emergency drain 43
Cleaning 44
Recovery from freezing 47
Care against an extended time of disuse 47
Troubleshooting 48
Checkpoints 48
Information codes 53
Specications 56
Fabric care chart 56
Protecting the environment 57
Specication sheet 58
English 15
Installation
Installation
Follow these instructions carefully to ensure proper installation of the washing machine and
to prevent accidents when doing laundry.
What’s included
Make sure all the parts are included in the product package. If you have a problem with
the washing machine or the parts, contact a local Samsung customer centre or the retailer.
01
02
12
11
10
09
03
04
06
08
07
05
01 Release lever 02 Detergent drawer 03 Control panel
04 Door 05 Drum 06 Lint lter
07 Emergency drain tube 08 Filter cover 09 Worktop
10 Power plug 11 Drain hose 12 Levelling feet
16 English
Installation
Installation
Spanner Bolt caps Hose guide
Cold water hose Hot water hose Liquid detergent container
Cap xer
NOTE
• Bolt caps : The provided number (3 to 6) of bolt caps depends on the model.
• Hot water supply hose: Applicable models only.
• Liquid detergent container: Applicable models only.
20 English
Installation
Installation
STEP 3 Adjust the levelling feet
1. Gently slide the washing machine into
position. Excessive force may damage
the levelling feet.
2. Level the washing machine by manually
adjusting the levelling feet.
3. When levelling is complete, tighten the
nuts using the spanner.
STEP 4 Connect the water hose
The provided hose adaptor may differ with the model. This step guides you through
connecting the connector-type adaptor. If you are provided with the screw-type adaptor, go
to 7.
A
B
Connect the water supply hose to the
water tap.
1. Remove the adaptor (A) from the water
supply hose (B).
English 25
Before you start
Before you start
Initial settings
Run Calibration (recommended)
Calibration ensures accurate weight
detection by the washing machine. Make
sure the drum is empty before running
Calibration.
1. Power off, and then power on the
washing machine.
2. Hold down Temp.(
) and Delay End
( ) simultaneously for 3 seconds
to enter Calibration mode. The “CB
message appears.
3. Press Start/Pause ( ) to run the
Calibration cycle.
4. The drum will rotate clockwise and
counter-clockwise for about 3 minutes.
5. When the cycle is complete, “0” appears
on the display and the washing machine
will turn off automatically.
6. The washing machine is now ready for
use.
English 29
Before you start
A
3. Apply fabric softener to the softener
compartment. Do not exceed the max
line (A).
4. If you want to prewash, apply
prewash detergent to the
prewash
compartment as instructed or
recommended by the manufacturer.
5. Close the detergent drawer.
CAUTION
• Do not apply powder detergent to the
liquid container.
• Concentrated fabric softener must be
diluted with water before applied.
• Do not apply main-wash detergent to
the
softener compartment.
30 English
Before you start
Before you start
To use liquid detergent (applicable models only)
A
First insert the provided liquid container
in the
main-wash compartment. Then,
apply liquid detergent to the container
below the marked max line (A).
CAUTION
• Do not exceed the max line that is
marked inside the container.
• Remove the liquid container if using
powder detergent.
English 31
Operations
Operations
Control panel
02
08
09
11
10
03 04 05 06 07
01
01 Course
Selector
Turn the dial to select a cycle.
02 Display
The display shows current cycle information and estimated time
remaining, or an information code when a problem occurs.
03 Temp. (
)
Press to change the water temperature for the current cycle.
04 Rinse (
)
Press to change the rinse times for the current course.
You can set the rinse times up to 5.
05 Spin (
)
Press to change the spinning speed for the current cycle.
• Rinse Hold
: The nal rinse process is suspended so that the
laundry remains in the water. To unload the laundry, run a drain or
spin process.
• No Spin : The drum does not spin after the nal drain process.
06 Dry Level (
)
Press this button to select proper drying option.
07 Bubble Soak
(
)
Press to activate/deactivate the Bubble Soak function. This function
helps remove a wide variety of stubborn stains.
• Bubble Soak helps remove a variety of stubborn stains.
• With Bubble Soak selected, laundry is thoroughly soaked in water
bubbles for effective washing.
• Bubble Soak is available with and adds up to 30 minutes (or 20
minutes) to 3 cycles: Cotton ( ), Synthetics ( ), and Baby Care
( ).
08 Options (
)
Press to select an Option from Intensive( ), Prewash( ), and
Intensive( )+Prewash( ). Press again to deselect.
32 English
Operations
Operations
09 Delay End ( )
Delay End lets you set the end time of the current cycle. Based
on your settings, the start time of the cycle will be determined by
the machine’s internal logic. For example, this setting is useful for
programming your machine to nish a wash at the time you normally
return home from work.
• Press to choose a preset unit of hours.
10 Power (
)
Press to turn on/off the washing machine.
11 Start/Pause
(
)
Press to start or stop an operation.
34 English
Operations
Operations
Dry clothes only
2
3
1
4
You can dry your clothes directly or dry the washed clothes according to the following
procedures.
1. Press Power ( ) button on the washing machine.
2. Use the Cycle Selector to select the appropriate drying cycle.
3. Press Dry Level ( ) button to select the appropriate drying mode.
4. Press Start/Pause ( ) button to start dry.
36 English
Operations
Operations
Course Description & Max load (kg)
COTTON DRY (
)
• Use to dry laundry such as cotton, underwear, and
linen.
6
SYNTHETICS DRY (
)
• Use to dry heat-sensitive garments. This protects the
bers of the garment by dying it at low temperatures.
3
SUPER ECO WASH (
)
• Low-temperature Eco Bubble contributes to power
saving.
4
SUPER SPEED (
)
• Press this button if you need to shorten the washing
time, applicable for Intensive (
), Pre Wash ( ), or
Delay End ( ) cycles. The shortened time may differ
depending on the Cycle/Load/Option.
5
15’ QUICK WASH (
)
• For lightly soiled garments in less than 2.0 kg that you
want to wash quickly.
2
Options
Option Description
Intensive
• For badly soiled laundry. The operation time for each cycle is
longer than normal.
Pre Wash
• This will add a preliminary washing cycle before the main
wash cycle.
42 English
Maintenance
Maintenance
AIR Wash
The AIR Wash function refreshes garments through Samsung’s unique air-washing
technology without the need for water.
Refer to the chart below for the usage and cycle time of each AIR Wash cycle.
Cycle Usage Cycle time
DEODORIZATION
( )
Use this cycle to remove bad odors from the
laundry.
29min
SANITIZATION
( )
Use this cycle to remove bad odors and bacteria
from the laundry.
59min
NOTE
• The recommended maximum load
capacity for the AIR Wash cycles is 1
kg or less (one or two items). If you
overload the drum,, the deodorization or
sanitization efciey may be reduced.
• You can add a fragrance sheet to the
laundry to add fragrance during the AIR
Wash cycle.
CAUTION
Do not use any AIR Wash cycles for the
following items
• Heat-sensitive garments made from
leather, mink, fur, silk, etc.
• Underwear trimmed with lace, doll
cushions, and trims on dress suits may
become loose.
• Clothes trimmed with buttons can cause
them to break.
• Clothes full of starch may become
deformed.
• Hard bedding
• Electric blankets, furry or bulky blankets
• Latex pillows
46 English
Maintenance
Maintenance
CAUTION
• Make sure the lter cap is closed properly after cleaning the lter. Otherwise, this may
cause a leak.
• Make sure the lter is inserted properly after cleaning it. Otherwise, this may cause an
operational failure or a leak.
Detergent Drawer
A
1. While holding down the release lever (A)
on the inner of the drawer, slide open
the drawer.
2. Remove the release lever and the liquid
detergent container from the drawer.
3. Clean the drawer components in owing
water using a soft brush.
4. Clean the drawer recess using a soft
brush.
5. Reinsert the release lever and the liquid
detergent container to the drawer.
6. Slide the drawer inward to close it.
52 English
Troubleshooting
Troubleshooting
Troubleshooting
Problem Action
Wi-Fi does not work
(Wi-Fi models only).
• Make sure the Internet connection to your house is properly
established.
• Make sure the router turns on and operates normally.
• Make sure you have installed the latest version of the Smart
Control App.
If a problem persists, contact a local Samsung service centre.
58 English
Specications
Specications
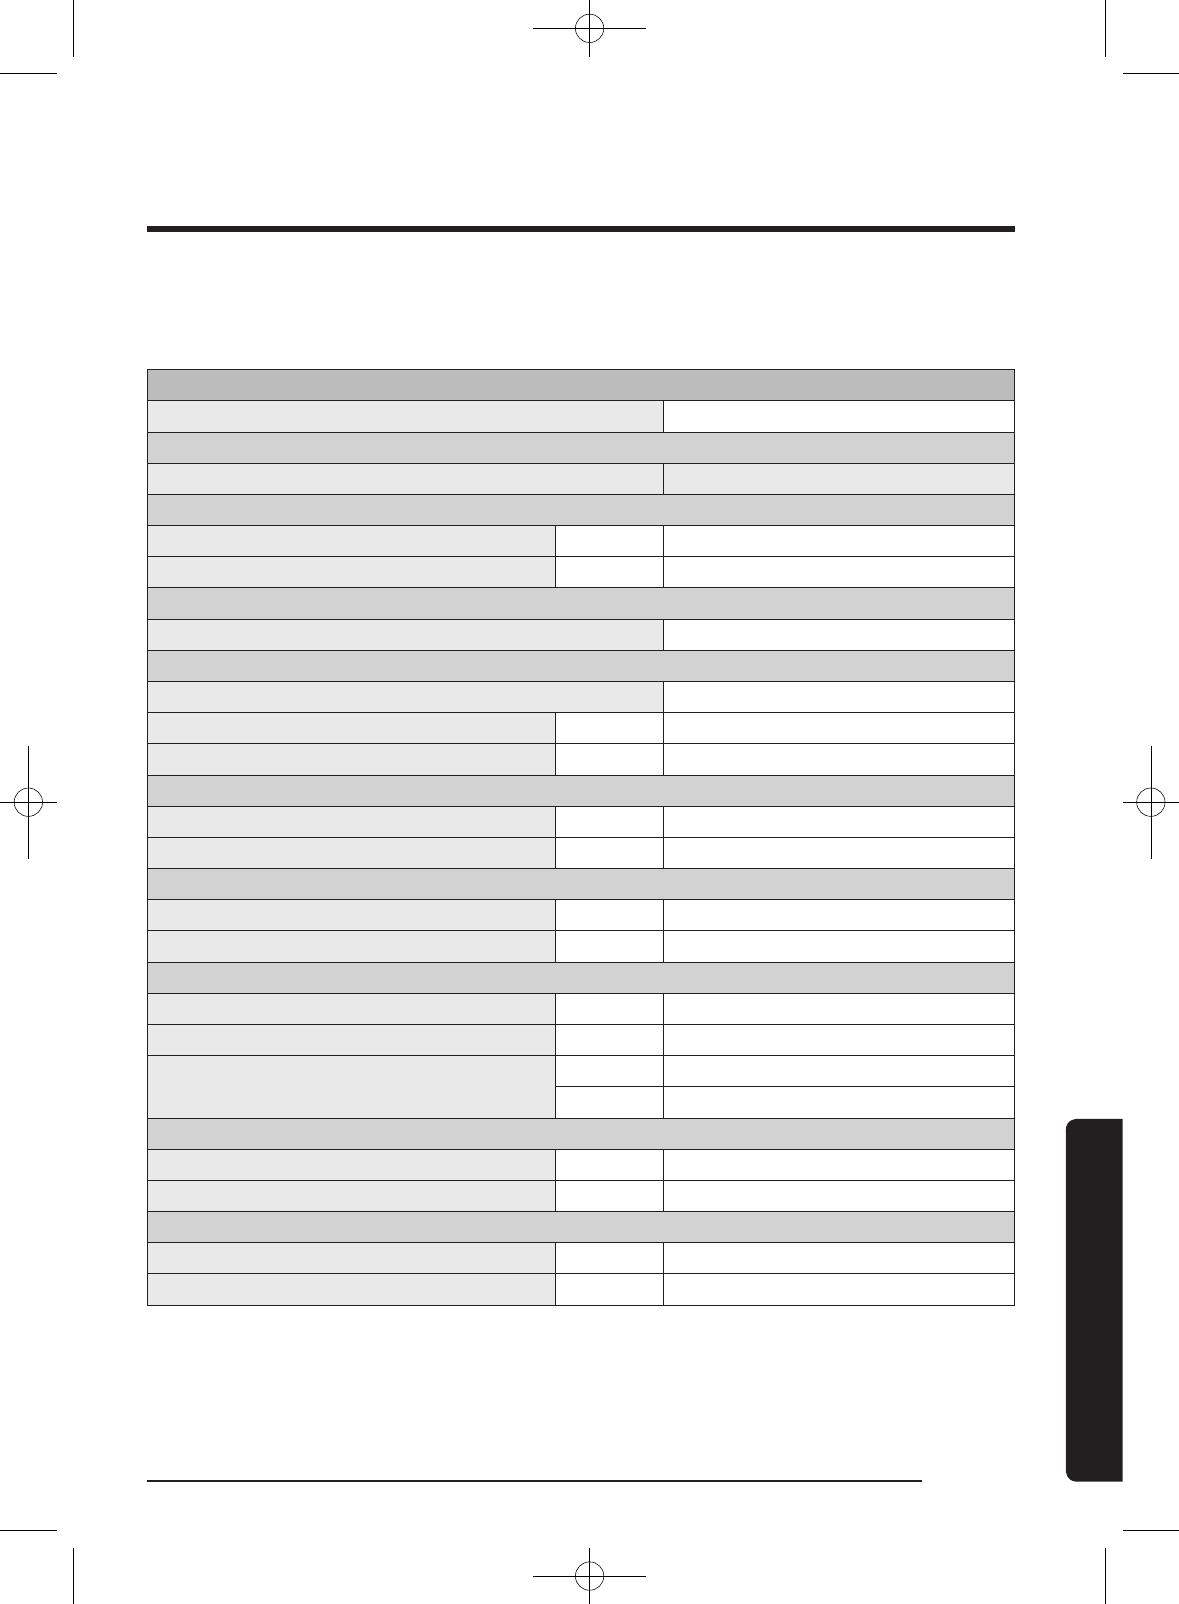
Specication sheet
“ * ” Asterisk(s) means variant model and can be varied (0-9) or (A-Z).
Type Front loading washing machine
Model name WD90J6***** WD80J6*****
Dimensions
W600 x D650 x
H850 (mm)
W600 x D600 x
H850 (mm)
Water pressure 50 kPa ~ 800 kPa
NET weight 70 kg 71 kg
Wash and spin capacity 9.0 kg 8.0 kg
Dry Capacity 6.0 kg 6.0 kg
Power
consumption
Washing
220 V 100 W
240 V 100 W
Washing and
heating
220 V 2000 W
240 V 2400 W
Drying
220 V 1600 W
240 V 1600 W
Spin 220 ~ 240 V 450 W
Pumping 30 W
Spin revolutions 1400 rpm
NOTE
The design and specications are subject to change without notice for quality improvement
purposes.
English 59
Specications
According to Regulation (EU) No. 90/60/EC
“ * ” Asterisk(s) means variant model and can be varied (0-9) or (A-Z).
Samsung
Model Name WD90J6*****
Energy Efciency Class
A (highest efcient) to G (lowest efcient) A
Energy Consumption
Washing, spinning, and drying kWh 6.12
Washing and spinning only kWh 1.17
Washing Performance Class
A (highest efcient) to G (lowest efcient) A
Water Extraction Efciency Class
A (highest efcient) to G (lowest efcient) A
Residual moisture % 44
Maximum Spin Speed rpm 1400
Capacity
Washing kg 9.0
Drying kg 6.0
Water Consumption
Washing, spinning, and drying
99
Washing and spinning only
54
Program Duration
Washing, spinning, and drying min 592
Washing and spinning only min 262
Programs to which the information on the label
and the Sheet relate
Wash Cotton 60 ºC + Intensive + 1400 rpm
Dry Cotton Dry(Cup board) + Spin
Estimatd annual consumption for a 4-person household, always using the dries (200 cycles)
Energy Consumption kWh/yr 1224
Water Consumption
19800
Estimatd annual consumption for a 4-person household, never using the drier (200 cycles)
Energy Consumption kWh/yr 234
Water Consumption
10800
English 61
Specications
According to Regulation (EU) No. 90/60/EC
“ * ” Asterisk(s) means variant model and can be varied (0-9) or (A-Z).
Samsung
Model Name WD80J6*****
Energy Efciency Class
A (highest efcient) to G (lowest efcient) A
Energy Consumption
Washing, spinning, and drying kWh 5.44
Washing and spinning only kWh 1.04
Washing Performance Class
A (highest efcient) to G (lowest efcient) A
Water Extraction Efciency Class
A (highest efcient) to G (lowest efcient) A
Residual moisture % 44
Maximum Spin Speed rpm 1400
Capacity
Washing kg 8.0
Drying kg 6.0
Water Consumption
Washing, spinning, and drying
88
Washing and spinning only
48
Program Duration
Washing, spinning, and drying min 562
Washing and spinning only min 262
Programs to which the information on the label
and the Sheet relate
Wash Cotton 60 ºC + Intensive + 1400 rpm
Dry Cotton Dry(Cup board) + Spin
Estimatd annual consumption for a 4-person household, always using the dries (200 cycles)
Energy Consumption kWh/yr 1088
Water Consumption
17600
Estimatd annual consumption for a 4-person household, never using the drier (200 cycles)
Energy Consumption kWh/yr 208
Water Consumption
9600
English 63
Specications
DC68-03591J-03
QUESTIONS OR COMMENTS?
COUNTRY CALL OR VISIT US ONLINE AT
DENMARK 70 70 19 70 www.samsung.com/dk/support
FINLAND 030-6227 515 www.samsung.com//support
NORWAY 815 56480 www.samsung.com/no/support
SWEDEN 0771 726 7864 (SAMSUNG) www.samsung.com/se/support
  • Page 1 1
  • Page 2 2
  • Page 3 3
  • Page 4 4
  • Page 5 5
  • Page 6 6
  • Page 7 7
  • Page 8 8
  • Page 9 9
  • Page 10 10
  • Page 11 11
  • Page 12 12
  • Page 13 13
  • Page 14 14
  • Page 15 15
  • Page 16 16
  • Page 17 17
  • Page 18 18
  • Page 19 19
  • Page 20 20
  • Page 21 21
  • Page 22 22
  • Page 23 23
  • Page 24 24
  • Page 25 25
  • Page 26 26
  • Page 27 27
  • Page 28 28
  • Page 29 29
  • Page 30 30
  • Page 31 31
  • Page 32 32
  • Page 33 33
  • Page 34 34
  • Page 35 35
  • Page 36 36
  • Page 37 37
  • Page 38 38
  • Page 39 39
  • Page 40 40
  • Page 41 41
  • Page 42 42
  • Page 43 43
  • Page 44 44
  • Page 45 45
  • Page 46 46
  • Page 47 47
  • Page 48 48
  • Page 49 49
  • Page 50 50
  • Page 51 51
  • Page 52 52
  • Page 53 53
  • Page 54 54
  • Page 55 55
  • Page 56 56
  • Page 57 57
  • Page 58 58
  • Page 59 59
  • Page 60 60
  • Page 61 61
  • Page 62 62
  • Page 63 63
  • Page 64 64
  • Page 65 65
  • Page 66 66
  • Page 67 67
  • Page 68 68
  • Page 69 69
  • Page 70 70
  • Page 71 71
  • Page 72 72
  • Page 73 73
  • Page 74 74
  • Page 75 75
  • Page 76 76
  • Page 77 77
  • Page 78 78
  • Page 79 79
  • Page 80 80
  • Page 81 81
  • Page 82 82
  • Page 83 83
  • Page 84 84
  • Page 85 85
  • Page 86 86
  • Page 87 87
  • Page 88 88
  • Page 89 89
  • Page 90 90
  • Page 91 91
  • Page 92 92
  • Page 93 93
  • Page 94 94
  • Page 95 95
  • Page 96 96
  • Page 97 97
  • Page 98 98
  • Page 99 99
  • Page 100 100
  • Page 101 101
  • Page 102 102
  • Page 103 103
  • Page 104 104
  • Page 105 105
  • Page 106 106
  • Page 107 107
  • Page 108 108
  • Page 109 109
  • Page 110 110
  • Page 111 111
  • Page 112 112
  • Page 113 113
  • Page 114 114
  • Page 115 115
  • Page 116 116
  • Page 117 117
  • Page 118 118
  • Page 119 119
  • Page 120 120
  • Page 121 121
  • Page 122 122
  • Page 123 123
  • Page 124 124
  • Page 125 125
  • Page 126 126
  • Page 127 127
  • Page 128 128
  • Page 129 129
  • Page 130 130
  • Page 131 131
  • Page 132 132
  • Page 133 133
  • Page 134 134
  • Page 135 135
  • Page 136 136
  • Page 137 137
  • Page 138 138
  • Page 139 139
  • Page 140 140
  • Page 141 141
  • Page 142 142
  • Page 143 143
  • Page 144 144
  • Page 145 145
  • Page 146 146
  • Page 147 147
  • Page 148 148
  • Page 149 149
  • Page 150 150
  • Page 151 151
  • Page 152 152
  • Page 153 153
  • Page 154 154
  • Page 155 155
  • Page 156 156
  • Page 157 157
  • Page 158 158
  • Page 159 159
  • Page 160 160
  • Page 161 161
  • Page 162 162
  • Page 163 163
  • Page 164 164
  • Page 165 165
  • Page 166 166
  • Page 167 167
  • Page 168 168
  • Page 169 169
  • Page 170 170
  • Page 171 171
  • Page 172 172
  • Page 173 173
  • Page 174 174
  • Page 175 175
  • Page 176 176
  • Page 177 177
  • Page 178 178
  • Page 179 179
  • Page 180 180
  • Page 181 181
  • Page 182 182
  • Page 183 183
  • Page 184 184
  • Page 185 185
  • Page 186 186
  • Page 187 187
  • Page 188 188
  • Page 189 189
  • Page 190 190
  • Page 191 191
  • Page 192 192
  • Page 193 193
  • Page 194 194
  • Page 195 195
  • Page 196 196
  • Page 197 197
  • Page 198 198
  • Page 199 199
  • Page 200 200
  • Page 201 201
  • Page 202 202
  • Page 203 203
  • Page 204 204
  • Page 205 205
  • Page 206 206
  • Page 207 207
  • Page 208 208
  • Page 209 209
  • Page 210 210
  • Page 211 211
  • Page 212 212
  • Page 213 213
  • Page 214 214
  • Page 215 215
  • Page 216 216
  • Page 217 217
  • Page 218 218
  • Page 219 219
  • Page 220 220
  • Page 221 221
  • Page 222 222
  • Page 223 223
  • Page 224 224
  • Page 225 225
  • Page 226 226
  • Page 227 227
  • Page 228 228
  • Page 229 229
  • Page 230 230
  • Page 231 231
  • Page 232 232
  • Page 233 233
  • Page 234 234
  • Page 235 235
  • Page 236 236
  • Page 237 237
  • Page 238 238
  • Page 239 239
  • Page 240 240
  • Page 241 241
  • Page 242 242
  • Page 243 243
  • Page 244 244
  • Page 245 245
  • Page 246 246
  • Page 247 247
  • Page 248 248
  • Page 249 249
  • Page 250 250
  • Page 251 251
  • Page 252 252
  • Page 253 253
  • Page 254 254
  • Page 255 255
  • Page 256 256
  • Page 257 257
  • Page 258 258
  • Page 259 259
  • Page 260 260
  • Page 261 261
  • Page 262 262
  • Page 263 263
  • Page 264 264
  • Page 265 265
  • Page 266 266
  • Page 267 267
  • Page 268 268
  • Page 269 269
  • Page 270 270
  • Page 271 271
  • Page 272 272
  • Page 273 273
  • Page 274 274
  • Page 275 275
  • Page 276 276
  • Page 277 277
  • Page 278 278
  • Page 279 279
  • Page 280 280
  • Page 281 281
  • Page 282 282
  • Page 283 283
  • Page 284 284
  • Page 285 285
  • Page 286 286
  • Page 287 287
  • Page 288 288
  • Page 289 289
  • Page 290 290
  • Page 291 291
  • Page 292 292
  • Page 293 293
  • Page 294 294
  • Page 295 295
  • Page 296 296
  • Page 297 297
  • Page 298 298
  • Page 299 299
  • Page 300 300
  • Page 301 301
  • Page 302 302
  • Page 303 303
  • Page 304 304
  • Page 305 305
  • Page 306 306
  • Page 307 307
  • Page 308 308
  • Page 309 309
  • Page 310 310
  • Page 311 311
  • Page 312 312
  • Page 313 313
  • Page 314 314
  • Page 315 315
  • Page 316 316
  • Page 317 317
  • Page 318 318
  • Page 319 319
  • Page 320 320

Samsung WD90J6400AW Ohjekirja

Kategoria
Washing machines
Tyyppi
Ohjekirja
Tämä käsikirja sopii myös