English - 35
To view programme information, press the ▲/▼/◄/► button to select a programme of your
choice, then press the INFO button.
➢
Information such as the channel number, programme title and running time, status bar,
and brief summary of the highlighted programme will be displayed in the top right corner
of the screen. If there is a lengthy summary, “…” will be displayed. Press the INFO button
for the full summary text.
Six channels are displayed. To scroll between channels, move to a channel using the ▲
or ▼ button. To display page by page, use the P or button.
2.2
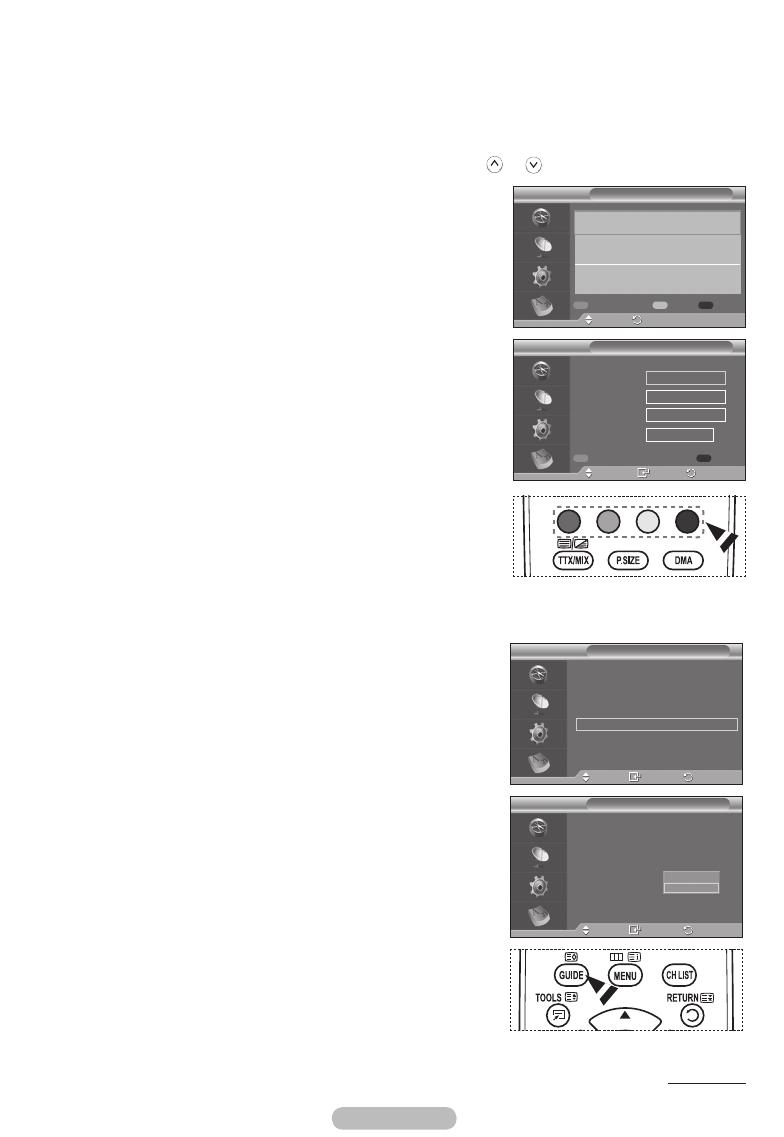
Scheduled List
If you make a scheduled viewing list of programs you may
like to see, the channel will be automatically switched to the
scheduled program at the scheduled time even if you are
watching another program.
Press the red button to add a new programme. The
menu for adding a programme is displayed with Channel
selected.
Press the ▲/▼ and ENTER buttons to set the required
channel, time, date, and frequency. When you are satisfied
with your settings, save the adjusted schedule by pressing
the red button.
If you want to edit the scheduled programme, select a
programme by pressing the ▲ or ▼ button, then press
the green button. If necessary, select the programme to
be deleted by pressing the ▲ or ▼ button, then press the
blue button.
➢
When watching analog TV, the reserved DTV channel
cannot be changed. The channel is only changed
automatically to the reserved channel when you are
watching DTV.
➢
Scheduling programme only functions with the
television already turned on, and not from standby
mode. For details about switching the television on
and off automatically, refer to page 9.
2.3
Default Guide
You can preset the default guide style.
Press the ▲ or ▼ button to select the required option
(Now/Next or Full Guide), then press the ENTER button.
The selected option for default guide is displayed on the
EPG menu and the channel list appears.
Continued...
Scheduled List
Move
Return
Thursday 22 Apr 15:30 ~ 18:00 Once
2 BBC TWO
Animal Park
Thursday 22 Apr 20:00 ~ 21:00 Once
2 BBC TWO
The Hairy Biker’s
Add Programme Edit Delete
DTV
Scheduled List
Adjust
Move
Return
Save Cancel
Channel
Time
Date
Frequency
20 MOJO
19:00 - 21:00
Thu 6 Jan 2008
Once
DTV
Now & Next Guide
Full Guide
Scheduled List
Default Guide : Full Guide
Guide
Move
Enter
Return
DTV
Now & Next Guide
Full Guide
Scheduled List
Default Guide : Full Guide
Guide
Move
Enter
Return
Now/Next
Full Guide
DTV
BN68-01416C-Eng.indb 35 2008-04-22 오후 2:57:39


